

This site contains affiliate links. As an Amazon Associate, We earn a commission from qualifying purchases at no extra cost to you.
Photos are very important as they contain precious memories, but photos are also used for many minor tasks. Unfortunately, these photos can begin to take up a lot of space on even the largest computers. Not to mention, they create lots of clutter if not properly organized.
The good news is that you can easily delete pictures from your Mac without much hassle. The downside is that photos are often stored in more than one place, so let’s take a look at how to delete photos from a MacBook.
Why Can’t I Delete photos on Mac?
There are a few reasons why you may be experiencing problems while trying to delete photos on a Mac. It would be easy to say that you are doing something wrong, but the truth is that the photos are likely in multiple folders or photos library.
While having photos in multiple locations is a common occurrence, we’ve also seen where the Photos app does not give you the option to delete a picture from photo library or other places.
If this happens to you, then try to delete photos from another device, like an iPhone or iPad, to rule out any other issues.
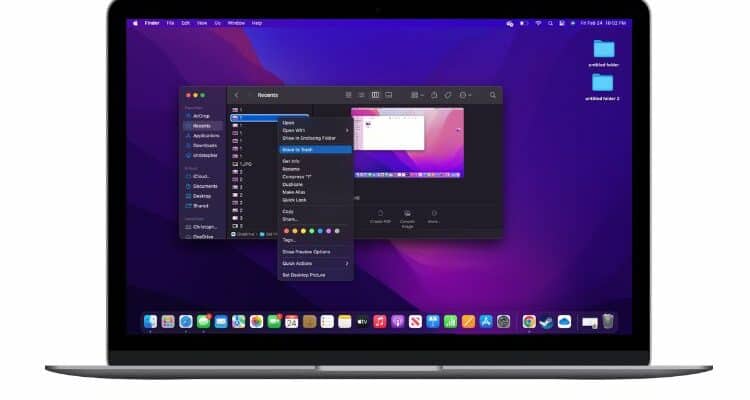
The good thing about Macs is that they are very intuitive to use, which is why people love them so much. To delete a photo on your Mac, all you need to do is locate it in Finder, then click and drag it to the waste bin on the dock.
Alternatively, you can right-click on a photo and choose to delete it that way.
How to Delete Photos from MacBook [Step-by-Step solution]
Removing photos from your Mac sounds like a straightforward process. However, you should follow the steps laid out in each of the following sections to ensure you remove photos from everywhere.
For instance, deleting images from your pictures folder may still leave them in your iCloud photos.
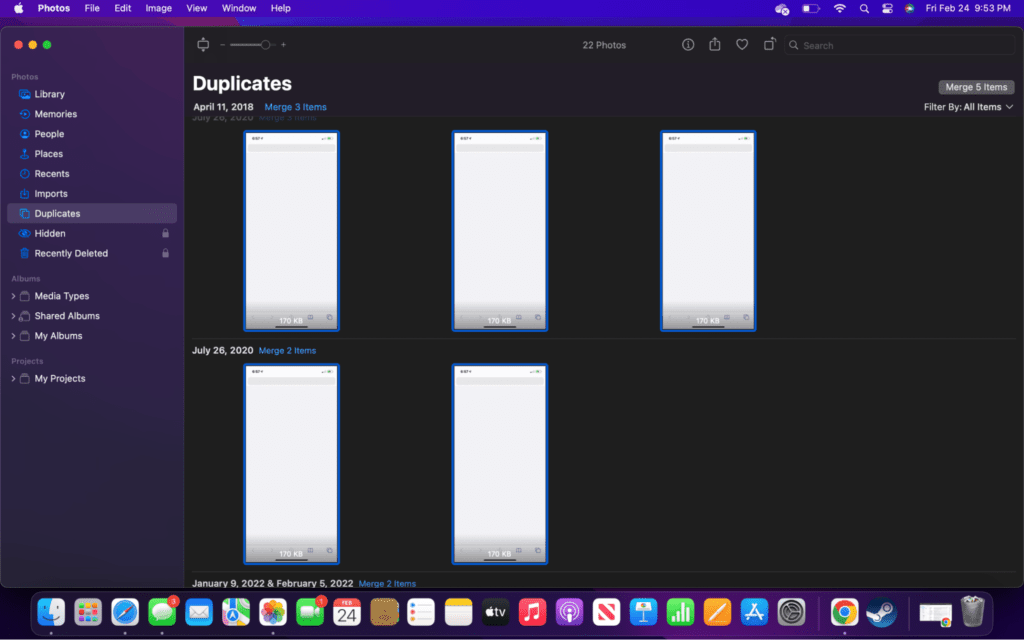
Delete Duplicates in the Photos App
If you are using the photos app, there is a great tool built in that lets you find duplicate photos, which allows you to delete them easily. Keep in mind that you will need to import photos from your Mac into the Photos app if you haven’t done so already.
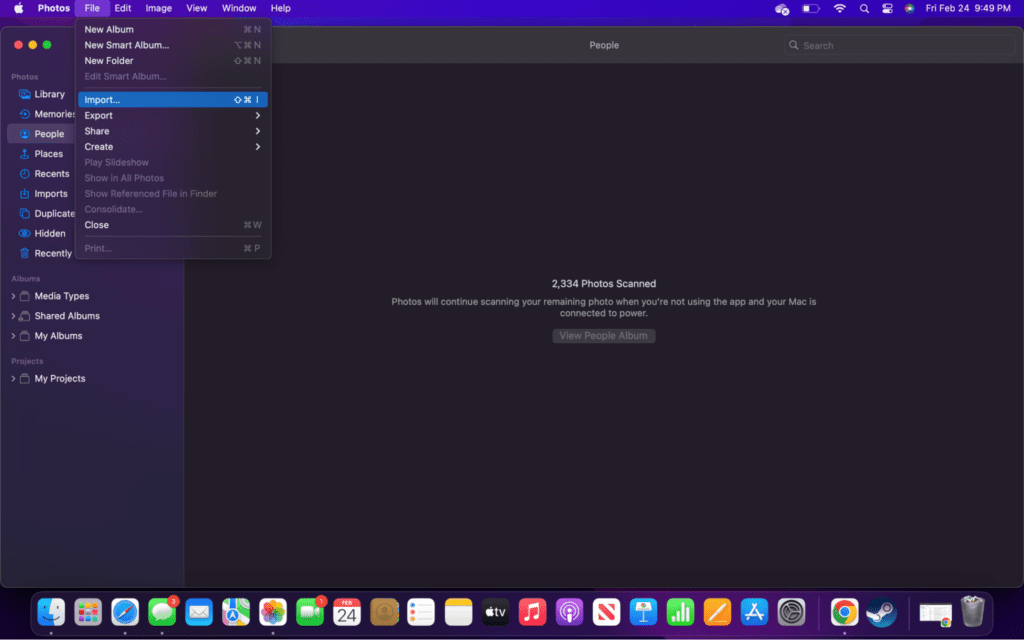
- Step 1: Open the Photos app, which you can find in the dock.

- Step 2: import photos from your Mac by clicking “File” then “import” from the dropdown menu.
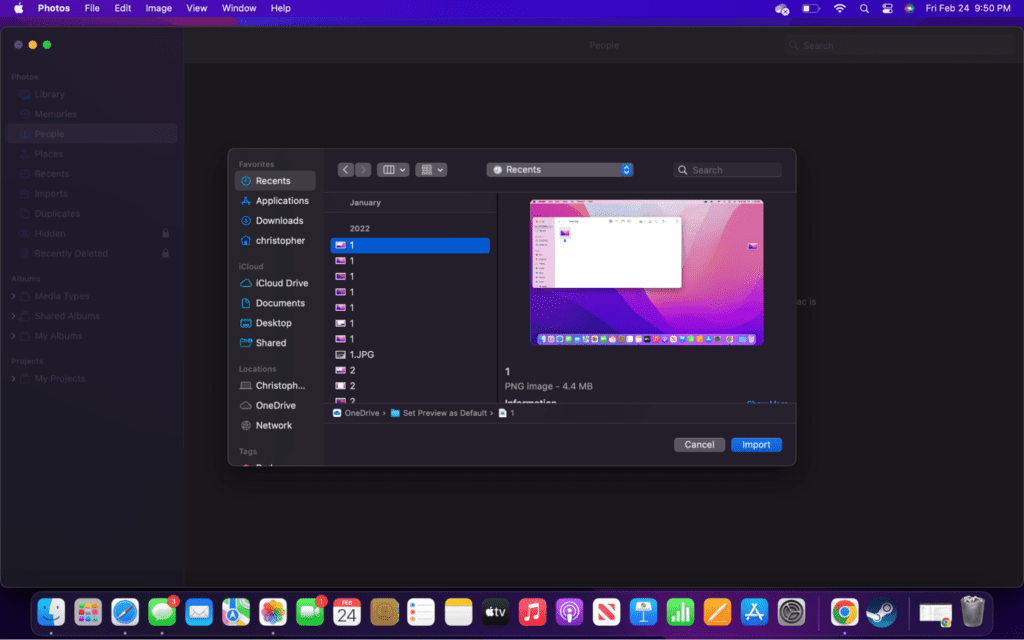
- Step 3: Choose the images you want to import by navigating the Finder window.
- Step 4: Select “Duplicates” from the left side bar.
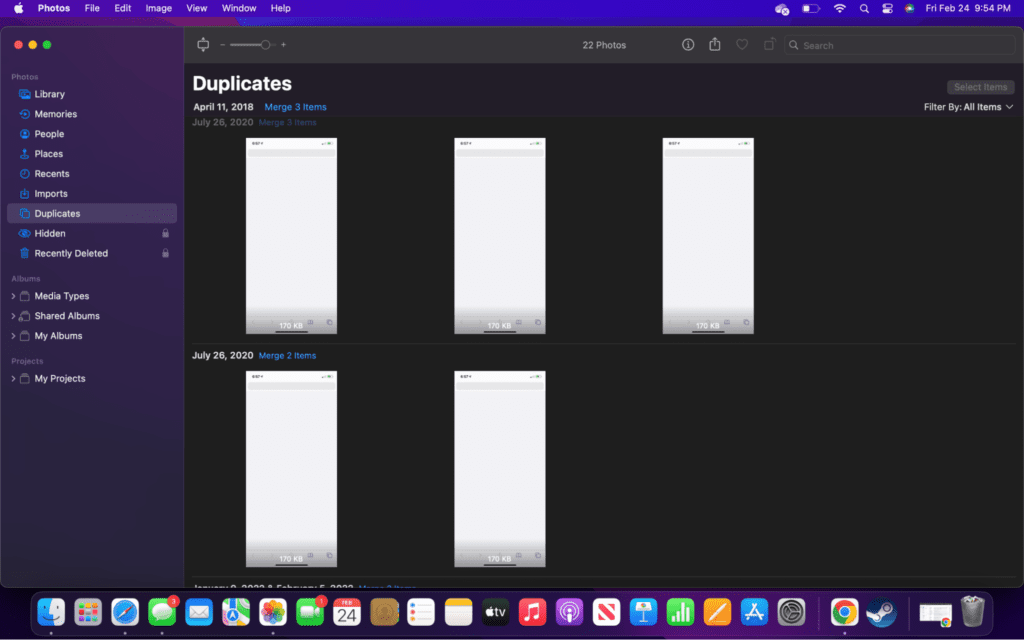
- Step 5: Highlight all of the images on the page and click “Merge … Items.”
Delete Duplicates with Smart Folders
Smart Folders on Mac are an often overlooked capability that is packed into macOS. You can add Smart Folders just like you would regular folders in Finder.
If you aren’t familiar, Smart Folders allow you to set parameters that automatically add specific file types that match those parameters.
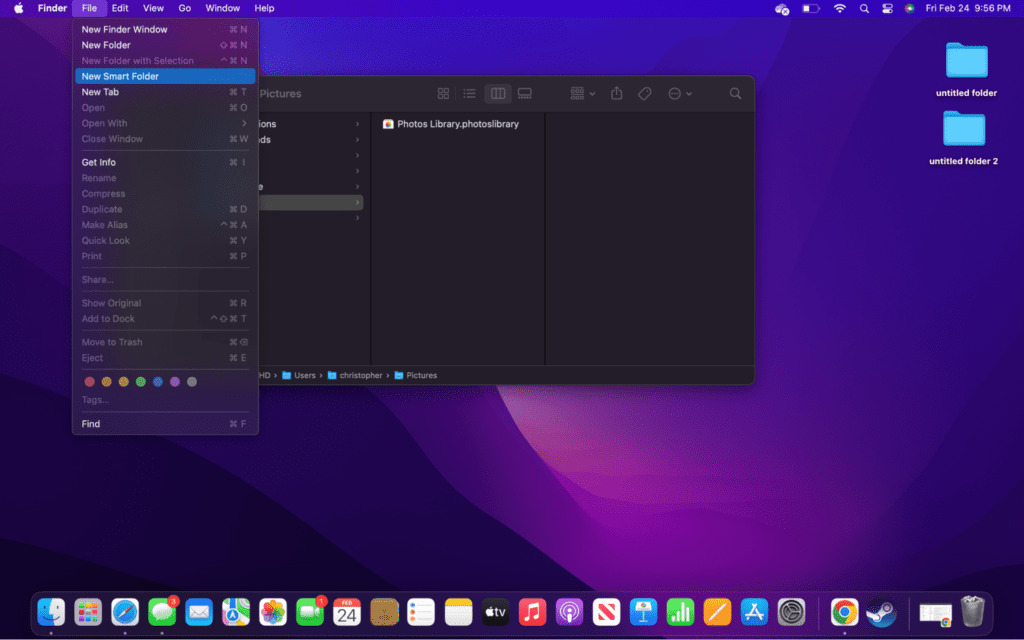
- Step 1: Open Finder by clicking on its icon in the Dock.
- Step 2: Navigate to where you would like to place this new folder. The best place would be in the Pictures directory.

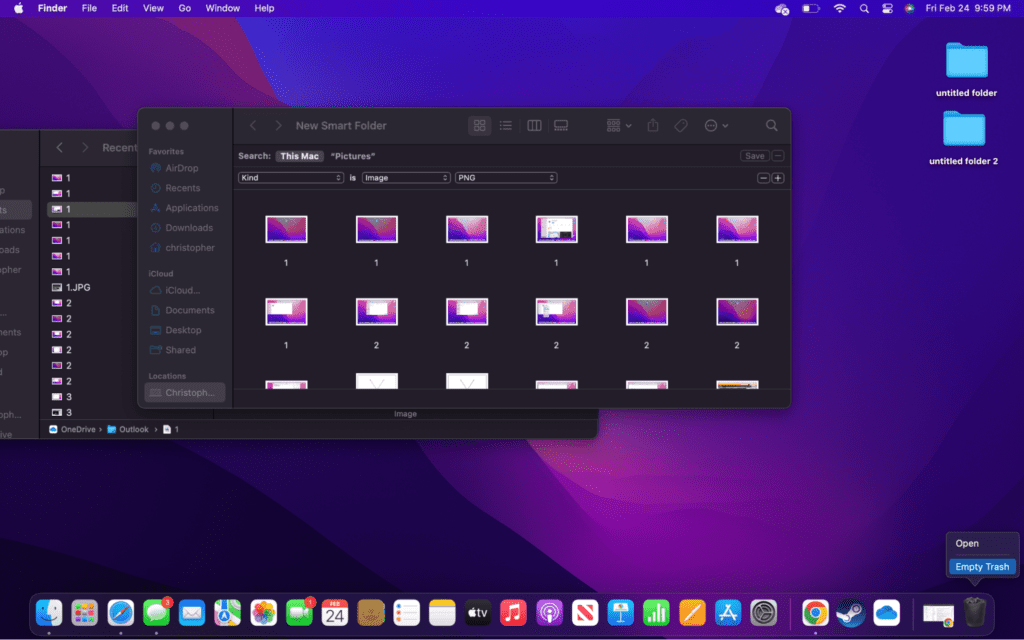
- Step 3: Click “File” and then “New Smart Folder.”
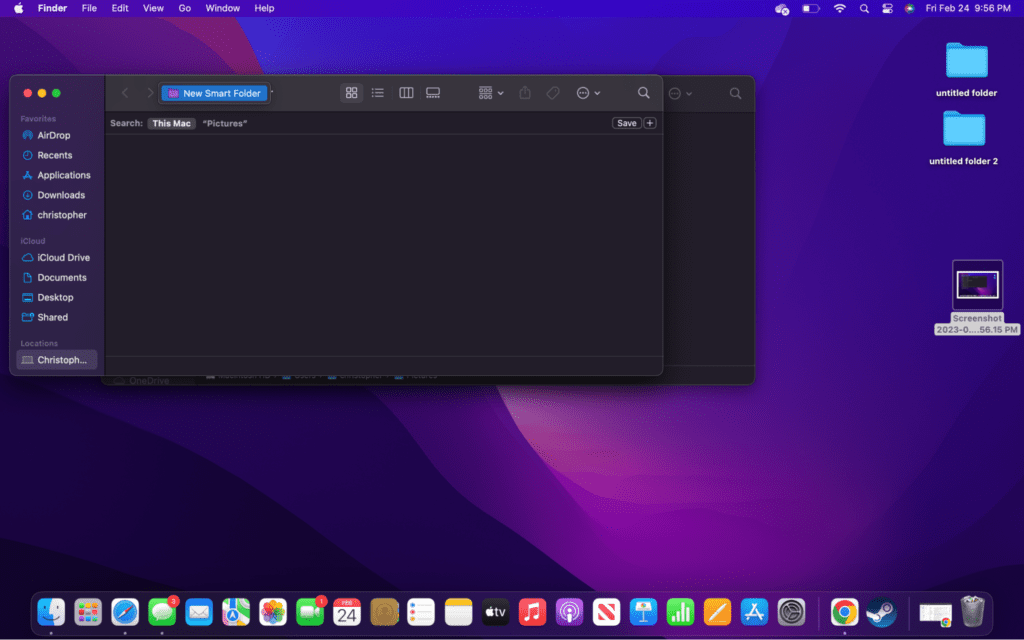
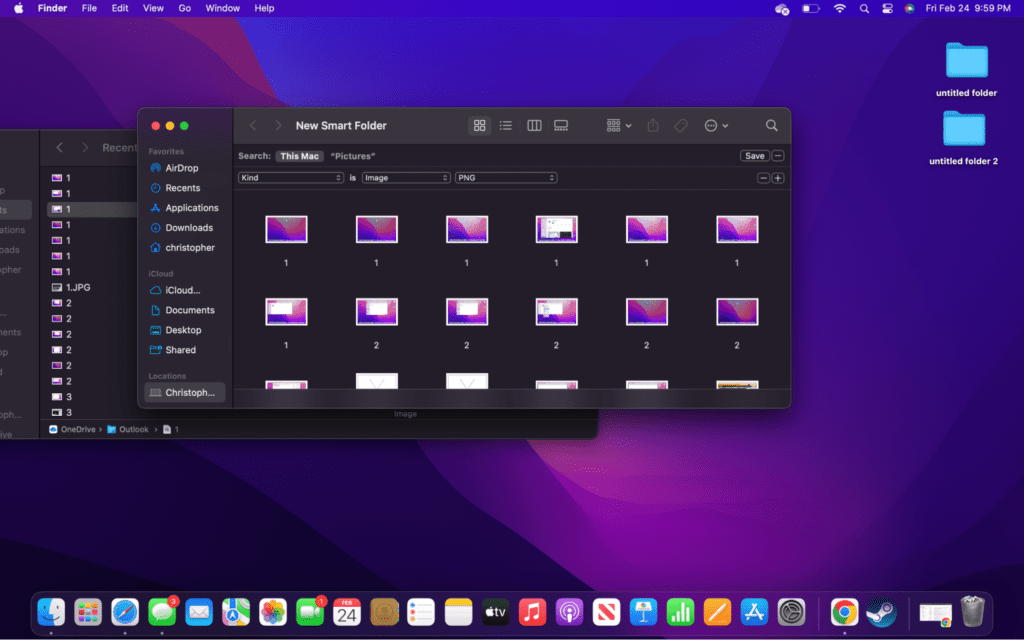
- Step 4: Rename the new folder and set its parameters. Do this by clicking the “+” button and then choosing the information that you want to search by.
- Step 5: Wait for images to be added to the Smart Folder before deleting the ones you don’t wish to keep. Remove them by right-clicking and selecting “Delete” or dragging them to the waste bin.
- Step 6: Don’t forget to empty your waste bin after deleting the photos to completely remove them from the computer.
Remove Photos in Finder
The most common way to remove photos is by using Finder. It is not only simple but easily offers the biggest array of capabilities.
The only downside is that it may take you a while to sift through images if you don’t have them organized. The good news is that all you have to do is click and drag to remove them.
- Step 1: Open Finder, which you can find in the Dock.
- Step 2: Navigate to the images you want to delete.
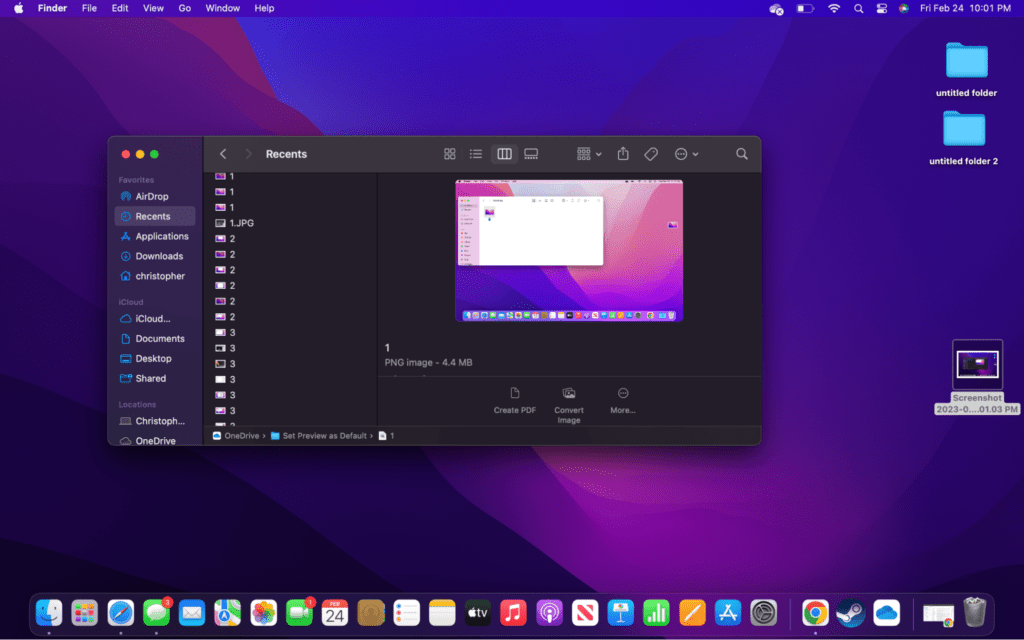
- Step 3: Select the images to delete by clicking on or highlighting them.

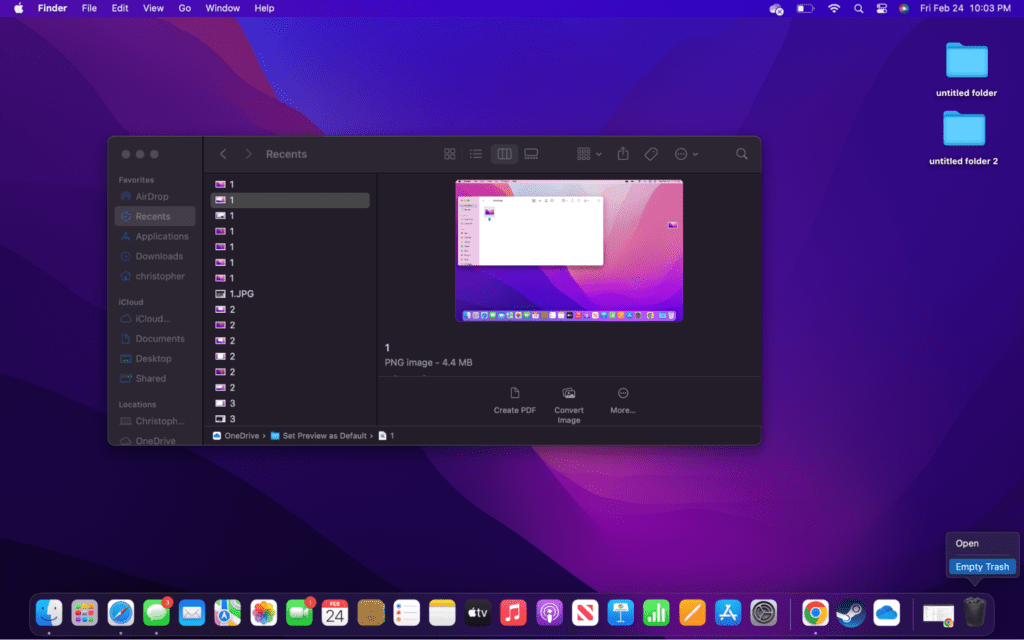
- Step 4: Remove the images by right-clicking on one and choosing “Move to Trash” or dragging the images to the waste bin.
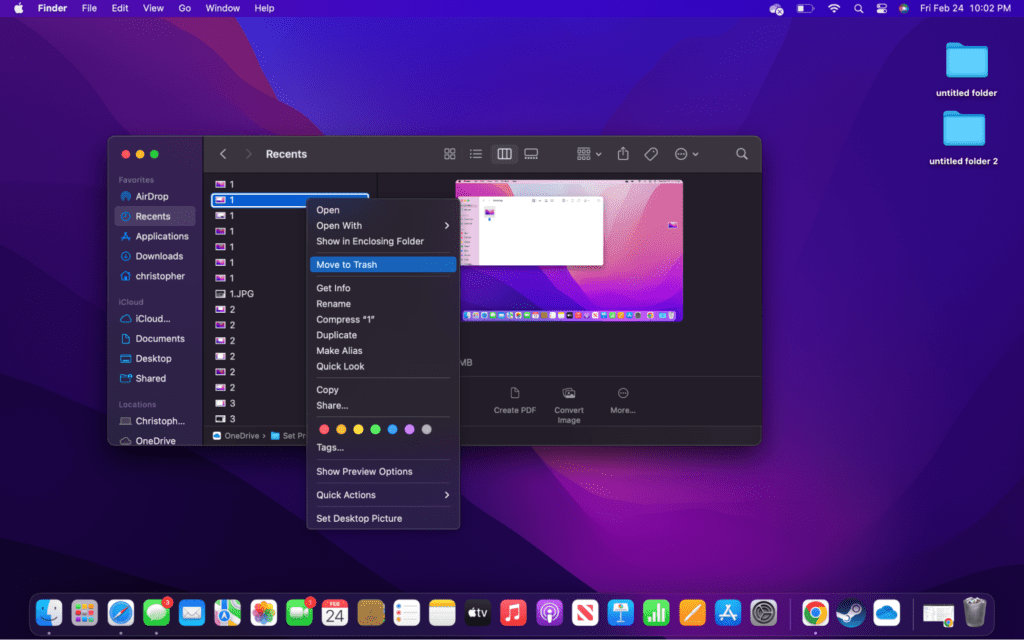
- Step 5: Don’t forget to empty the waste bin if you want to permanently delete the images.
Delete Pictures in the Photos App
The last method we will be looking at is deleting pictures in the Photos app, which is a little bit different than using Finder.
In fact, the Photos app is where a lot of confusion happens because it can contain files from across your various Apple devices. Additionally, these photos are not always stored on your computer.
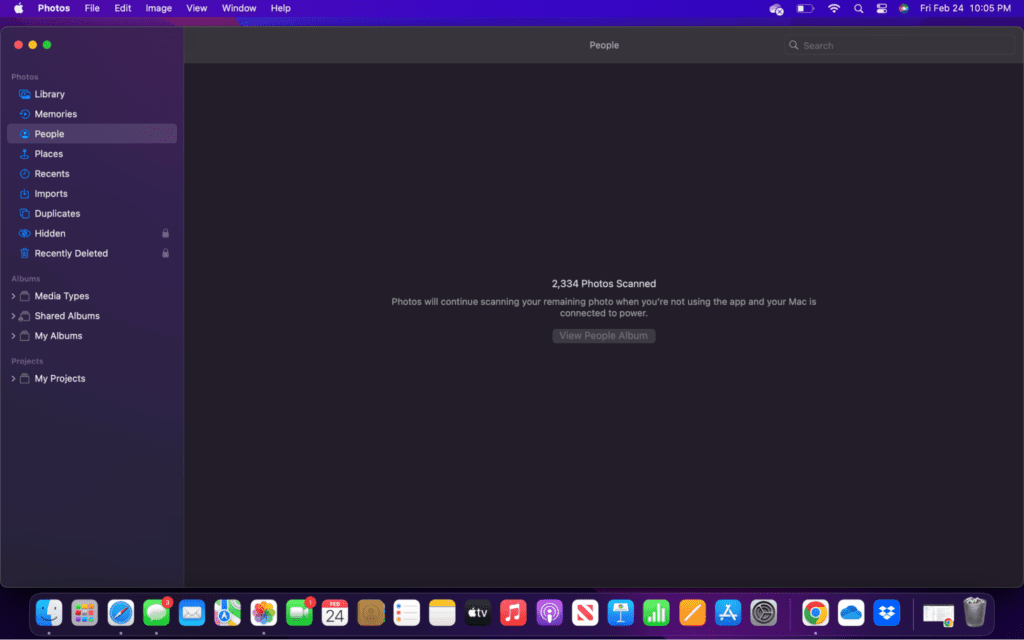
- Step 1: Open the Photos app, which is located on the Dock.
- Step 2: Find the photos you would like to delete. You can sort them or move between different image types with the option on the top and left.
- Step 3: Choose the images you would like to delete. You can either choose one image at a time, highlight multiple photos, or even click on several images to highlight them.
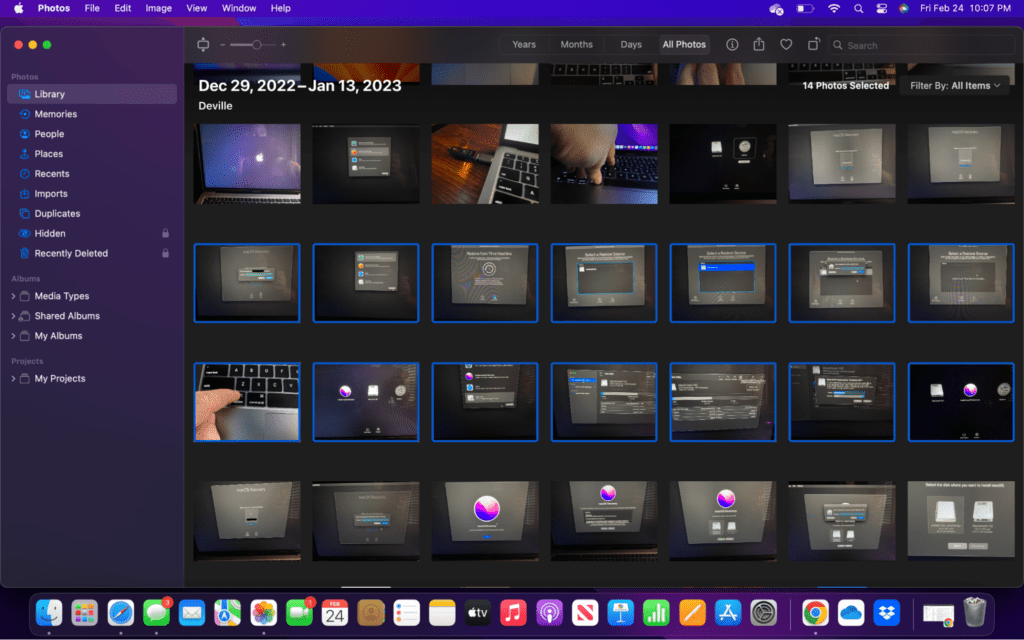
- Step 4: Now that the photos to delete have been chosen, you need to right-click on one of them and choose “Delete.” As a side note, you cannot delete images in the Photos app by dragging them to the waste bin.

- Step 5: After deleting, the deleted photos / deleted files will stay in the Recently Deleted folder for about a month. If you want to remove them, you will need to go to the folder and permanently delete them there.

FAQs
How do I completely delete everything from my Mac?
To delete everything or delete entire photo library off of your Mac, you will need to open System Settings and go to “General.” Then, click on “Transfer or Reset” on the list. There should now be an option to “Erase All Content and Settings” that you need to select. Remember, this will not remove content from iCloud.
Does erasing Mac delete everything?
Erasing your Mac permanently deletes everything contained on it. Unlike with a PC, once you wipe your Mac, you will not be able to recover deleted photos or any of the data on it. Just remember that certain data, like images, may still be on your iCloud drive even after wiping the computer.
Does deleting photos from Mac delete from iCloud?
If your Mac is set to sync with iCloud, then whatever you do on the computer will be mirrored in iCloud. For instance, deleting a picture on the Photos app will also delete the photo from iCloud. This means it will also delete them from your iPhone and iPad.
Conclusion:
Macs are great computers, but thanks to some changes over the years, it feels like it has actually gotten more complicated to deal with photos.
Part of the reason for this is that there is no unified way to manage and sort through pictures.
You typically have pictures in your downloads folder, then you’ve likely added some to the Pictures directory. But if you take screenshots, those are added to the desktop by default. Lastly, Macs have the Photos app, just like iPads and iPhones, which contains a completely different set of images.
Trying to manage all of these spaces can be daunting if you aren’t organized, which is why you should regularly sort through, label, and delete photos. If you feel too overwhelmed to manually remove photos, you can always use third-party software which will clean up your computer.
About Christopher